|
Elastic Stack 5 : Install Kibana
2017/05/07 |
|
Install Kibana which is the Data Visualization tool for Elasticsearch.
|
|
| [1] |
Create SSL certificates first. On this example, create and use self-signed one like here.
|
| [2] | Install Kibana. Configure Repository for Elasticsearch before it like here. |
|
[root@dlp ~]#
yum -y install kibana
[root@dlp ~]#
vi /etc/kibana/kibana.yml # line 7: uncomment and change (listen all) server.host: " 0.0.0.0 "
# line 18: uncomment and change (specify own hostname) server.name: " dlp.srv.world "
# line 21: uncomment and change if need # if Kibana run on another computer from the one which elasticsearch is running, change this value elasticsearch.url: "http://localhost:9200" # line 44-46: uncomment and specify certificates server.ssl.enabled: true server.ssl.certificate: /etc/pki/tls/certs/server.crt server.ssl.key: /etc/pki/tls/certs/server.key
systemctl start kibana [root@dlp ~]# systemctl enable kibana
|
| [3] | If Firewalld is running, allow ports like follows. |
|
[root@dlp ~]# firewall-cmd --add-port=5601/tcp --permanent success [root@dlp ~]# firewall-cmd --reload success |
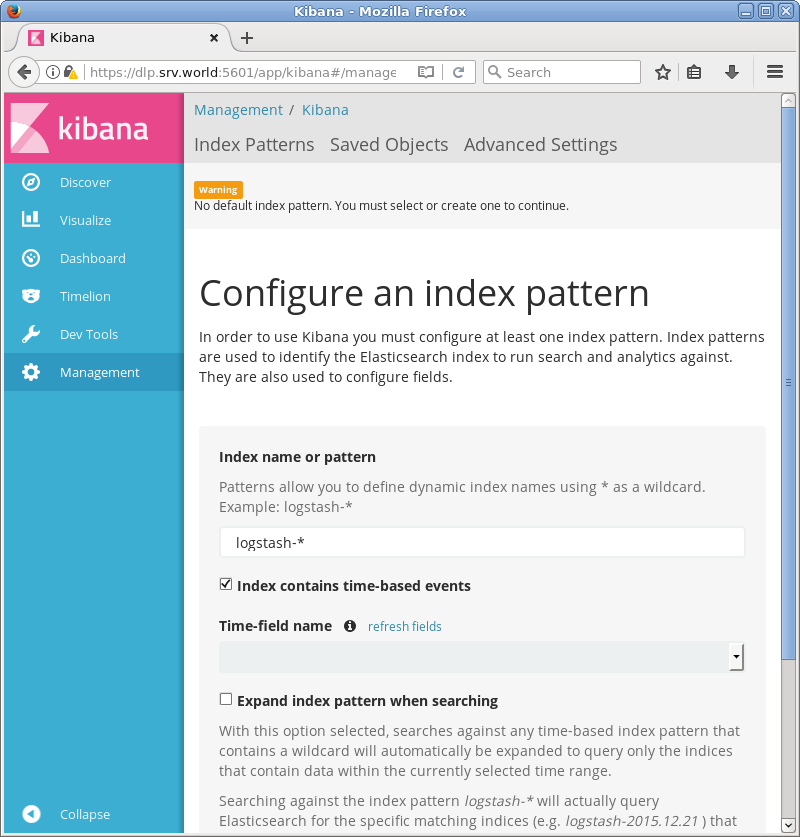
| [4] | Run Web browser on a client computer and access to [https://(server's Hostname or IP address):5601/]. It's OK if Kibana's Dashboard is displayed like follows. |

|
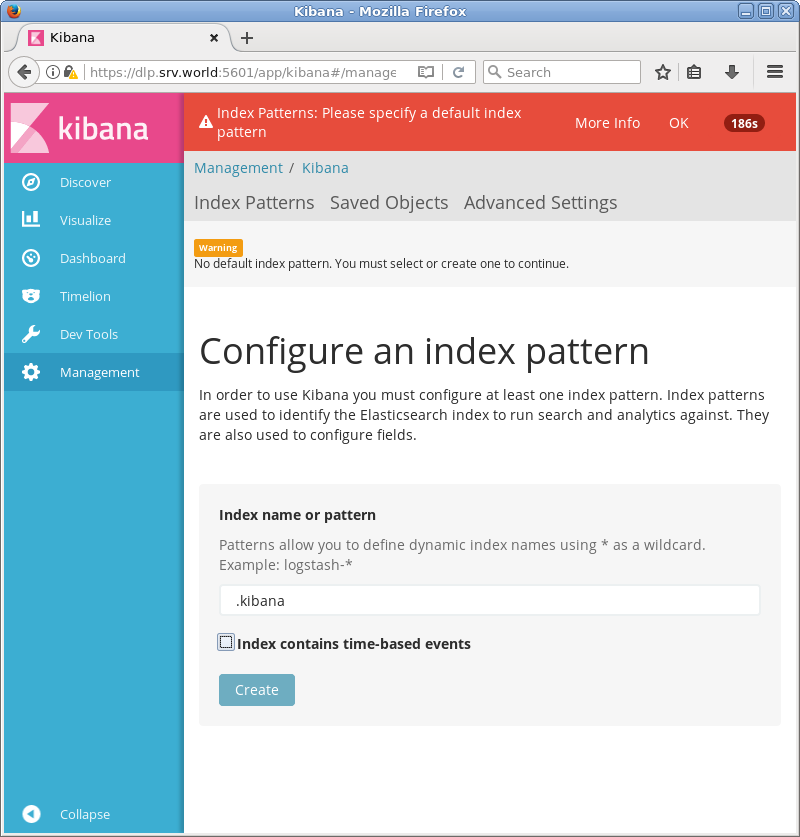
| [5] | The warning is show like follows because default Index is not configured. Set any Index as the default one. On this example, set [.kibana] like follows which is the Kibana's default setting for default Index. |

|